

Getting to know CANVAS Slicer
Introduction:
The Polar Cloud brought your printers status, temperatures, and camera feed to your pocket. Now with CANVAS, you’ve got a rich, full-featured web based slicer in your pocket, on your tablet, or on your desktop too - no download required.

Screenshots of real use on mobile: iPhone 12.
Prerequisites:
You’re the owner of a Palette, Palette 2, Palette 2S, or Palette 2S Pro, Palette 3, or Palette 3 Pro
OR - You’re a Individual Premium Account holder
OR - You or are an Experienced Student, Student Manager, Teacher, or Admin in a school that has an active Premium Site License
Video Instructions:

Step 1 Link Accounts
The Premium Slicer is run by the team at Mosaic Manufacturing, makers of the Palette (purchase a Palette here). CANVAS slicer can be launched by clicking the “Canvas” button on the Printer Dashboard.

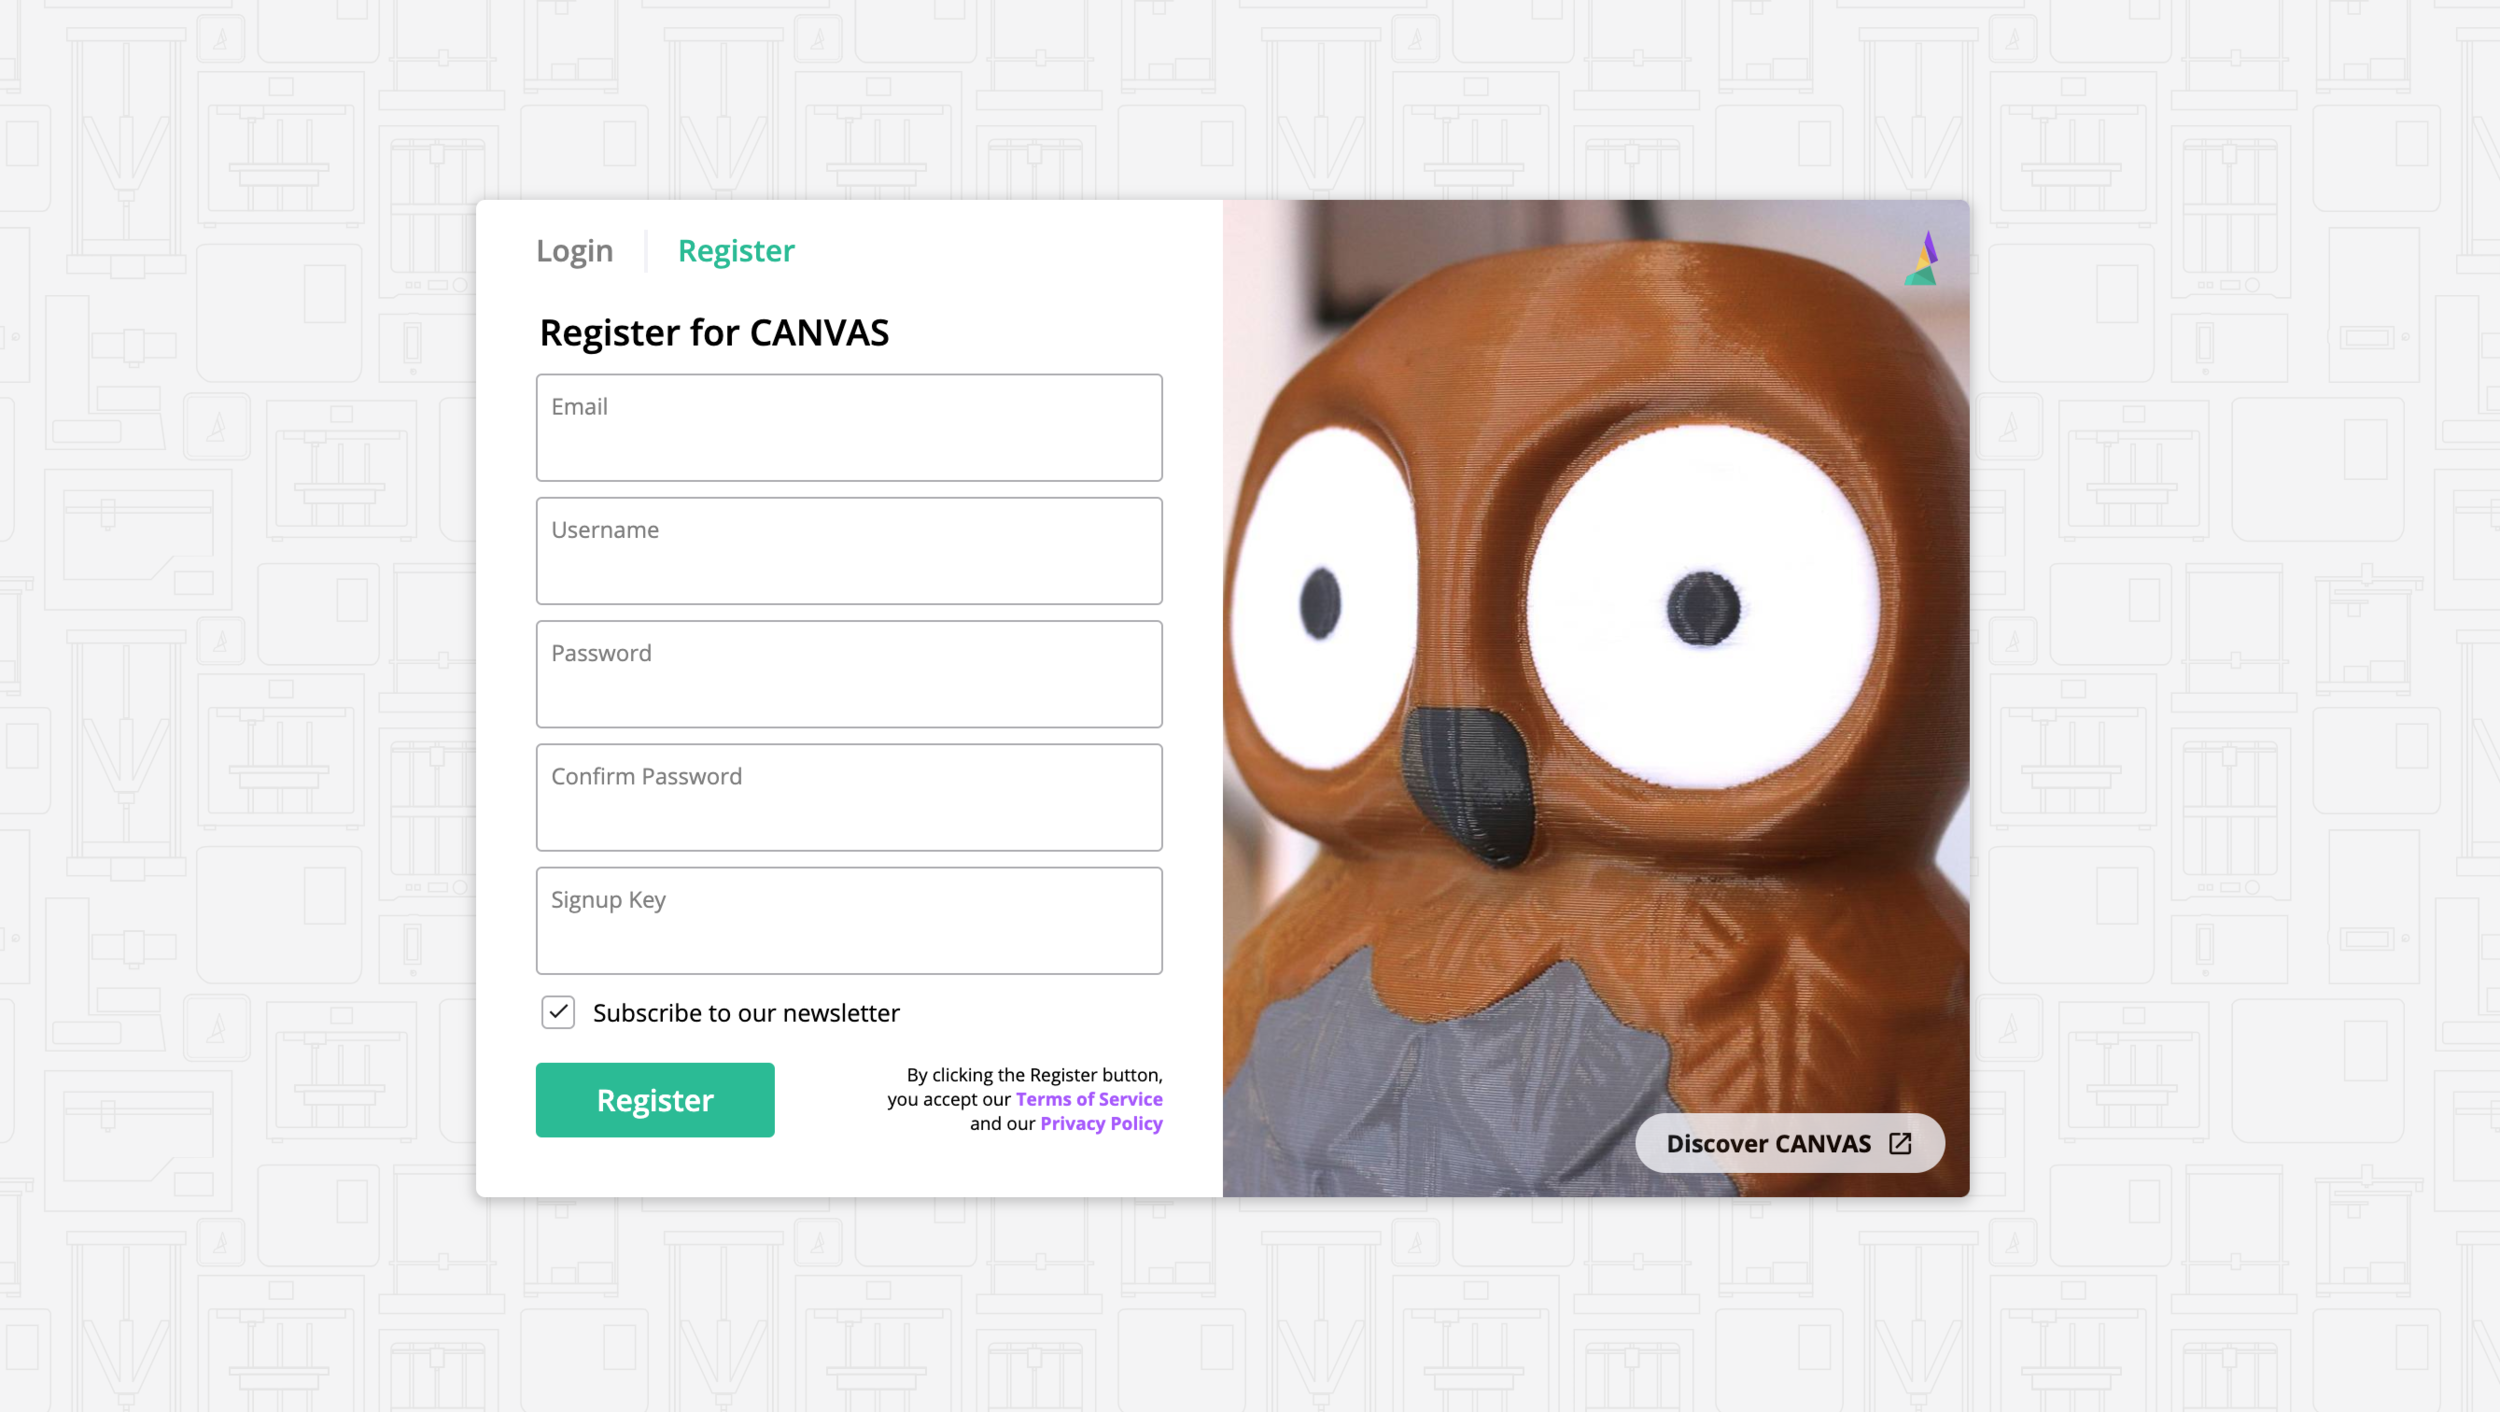
If it’s your first time launching CANVAS, you will have to create an account. Returning users may be asked to “Login” if their session has expired.
Once logged in, you will be prompted to “Authorize” CANVAS to send files to the Polar Cloud
If not presented with this screen, you can manually link the accounts by clicking the Account Icon in the top right, then “Account Settings” and finding the “Link” option for Polar Cloud under the “Integrations” menu dropdown


Step 2 Setup Printer and Material Profiles


Follow these instructions if you’re using a CANVAS Hub or Octoprint Enabled Printer.
Step 3 Preparing an Object for Print

Objects you’d like to slice in CANVAS have to be uploaded directly to CANVAS from your device. You can upload any of the following:
Single Material Models
Single STL’s for viewing and printing
Single STL’s for painting then printing in multi-material/multicolor (Watch: Getting Started / Advanced)
Multi-Material Models (will be grouped and aligned)
Multi-piece / Multi-Material STL’s
Step 4 Send to Polar Cloud Printer
If your account is properly linked (Step 2, see above) you’ll be offered a “Send to…” button after slicing your object in CANVAS. Here is where you’ll choose your Polar Cloud Enabled printer.

Click “Polar Cloud” and choose your printer from the dropdown list. You’ll only see printers that you have “Queueing” access to, meaning you’re an experienced student or higher in a School, or you have direct access thru a group or the printer itself.

Connected mode
the singular “.mcf.gcode” will be placed into the printer’s queue on the Polar Cloud. Clicking “START” from the Polar Cloud will properly kick off the job on your Canvas Hub and Palette.
Accessory Mode
CANVAS will download a .ZIP file with the “.maf” file that will need to be loaded to the Palette as normal
Once the sliced file is sent to your printer, go back to the Polar Cloud.
You can also use the “Go to Polar Cloud” link provided

Optional Unlinking Accounts
Go to Account Settings on CANVAS.
Under Integrations, select Unlink.

You will be notified on the screen that your accounts have been successfully unlinked.
That's it! If you have any questions, please don't hesitate to reach us at support@polar3d.com
See Mosaic’s help article here.