

Now that you’ve uploaded your object, it’s time to print!
FOR SCHOOL USERS

As long as the printer is Added to the School, Experienced Students and above can prepare jobs for the printer - lightening the workload for the Teachers and School Admin.
FOR EVERYONE
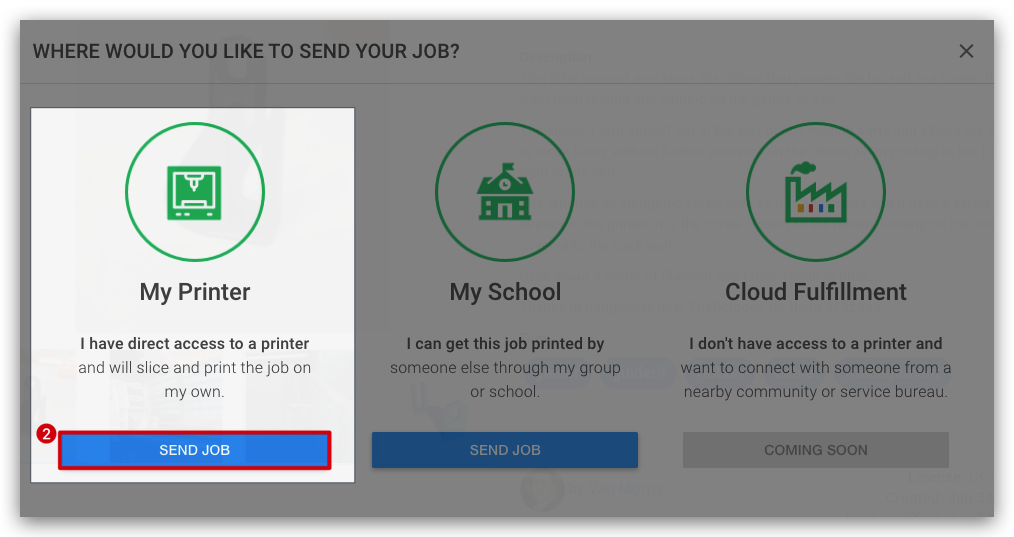
Step 1 Click “3D Print” and then “My Printer”

Step 2 Prepare The Object
Orienting your object correctly is one of the key steps towards a successful 3D print. Try and place the largest, flattest surface on the build plate.
Click the object you’d like to manipulate and use the 3D Gizmo Tool (green, blue, red arrows) to move, rotate, and scale to your liking. If you need finer control, the same (see #4 in Step 3 below) tools are available as Slider controls or Number input.
Each object shows you its exact size in millimeters in the bottom right of the build plate. If your object is too large for the printer you’ve selected, your dimensions will be shown in red!
If you can’t easily click and drag the environment to move around, the iPad controls in the top left may be easier for you.


Step 3 Choose Settings and Print!


Choose your printer. If you have Multiple, select one that says “READY TO PRINT” and has the fewest jobs already in its queue!
Delete, Duplicate, and Add Objects to the build plate if necessary
Adjust the placement of your object(s). On this tab, you’ll see the position, scale, and rotation controls
Print Settings tab is where you choose the slicing parameters for your job
Pick a Slicing Config from the defaults provided or adjust to create your own
Set Job Name and Basic Slicing Settings by choosing an Infill Amount, Shell Thickness, and Support Type
Print!
Step 4 Printer Queue Management

Once your print job has been sent to the printer, it’ll fall next in line in the “Queue”. Objects that were queued before it will appear further left in the queue, nearer position 1. You can move any job (as long as it’s not currently being printed) by clicking on the Menu Dots (#1) and then choosing “Send Job to Front” or “Send Job to Back”.
From this menu, you’re also able to remove the job, remove the job with comments (if someone else queued the job), change the job to another printer, edit the job, and more.