

I just got my Inventor. How do I get started? (unboxing, loading, leveling)
First, remove it from the box and familiarize yourself with what's included. Some of the packing foam is tough to remove, so if you get stuck, reference the video below.
Before printing anything, you'll need to level the build plate. Use the video below to get started.
If leveling, and no matter how much you loosen the wheel, the plate does not come all the way up to the leveling sensor - try loosening all 3 of the thumbwheels. The advice to “tighten the thumbwheels as far as they go”
When these videos were created, the build plates were shipped with a BLUE SHEET of Flashforge Buildtak attached to them. They are now being shipped with the Buildtak in a separate bag, giving you options on what you'd like to use as your build surface. You need something to get the PLA to stick to the plate, you can not print on glass alone. If your printer came with the Blue Buildtak sheet separate from the plate, attach it like a sticker. If it's attached - you can move to the next step.
After you've calibrated your extruder distance and leveled the build plate, you're ready to load filament and add to the printer to the cloud. The printer is meant to be used with the Polar Cloud, not FlashPrint or other application based slicers.
I’ve completed basic setup. How do I use it on the Polar Cloud?
The Flashforge Inventor II is Polar Cloud Enabled! Adding the Inventor II to the Polar Cloud gives you the ability to easily share the printer with your students, send multiple objects to print at once, set up a queue of prints, and manage it from the same platform as your Polar3D printer. View the set-up video for the Flashforge Inventor II to get your printer online!
Youku Equivalent for Chinese Users: http://v.youku.com/v_show/id_XMzAzMzQ0MjUyMA
Detailed PDF/HTML Guide:
HTML: https://s3.amazonaws.com/polar3d-content/html/ff-inventor-polar-cloud/ff-inventor.html
PDF: https://s3.amazonaws.com/polar3d-content/pdf/ff-inventor.pdf
If your school prefers to use Ethernet, you can use a USB —> Ethernet adapter like the one here.

If at any point your printer loses connection to the cloud, check that the Polar Cloud Connection is toggled to ON. You should see a cloud with a P in it at the top of the LCD.
I’ve run out of the filament roll provided with the printer. What are my options?
Your Flashforge Inventor II/IIS will print any 1.75mm 3D Printing PLA filament. You should see plenty of options on amazon and other 3D Printing retailers online.
To utilize other larger/smaller filament spools, print your very own spool holder! This one is designed to mount off the back of the printer, using pre-existing screws. All you'll need to install this is a Philips (+) head screwdriver. We recommend printing it at 40% Infill or above for a nice strong print.
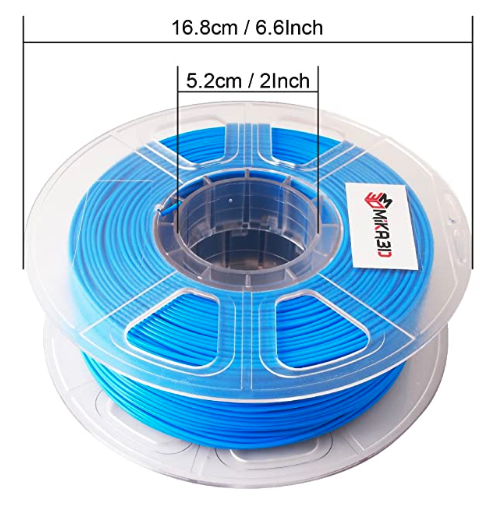
UPDATE: We found a Half Kilogram roll of filament on Amazon that fits inside of the door on the back of the printer!
MIKA3D 1.75mm PLA Filament Bundle, 3 Spools Pack (White/Black/Blue)