We open schools for business, transforming Students into Designers, Makers, and Entrepreneurs
Who benefits from your School Store, you ask?
EVERYONE!
Have a Modern Day “Make Sale”
Fund and support the ongoing STEM projects at your school, buy something new for your class, and more!
Raise Funds for Someone Else!
Use student ingenuity to make a difference for someone else. The Arahoe School in New Zealand raised $2,500 for a local charity by selling custom 3D Printed Keyrings!
Help Students Show off their Designs
Students love printing gifts for friends and family. With your School Store, the work they’re proud of gets even more exposure!
Foster Entrepreneurial Spirit
Introducing students to commerce in their formative years helps them introduce new ideas, solve problems, and gives them a competitive edge in the job marketplace.
Receive Tips on ANY Public Object
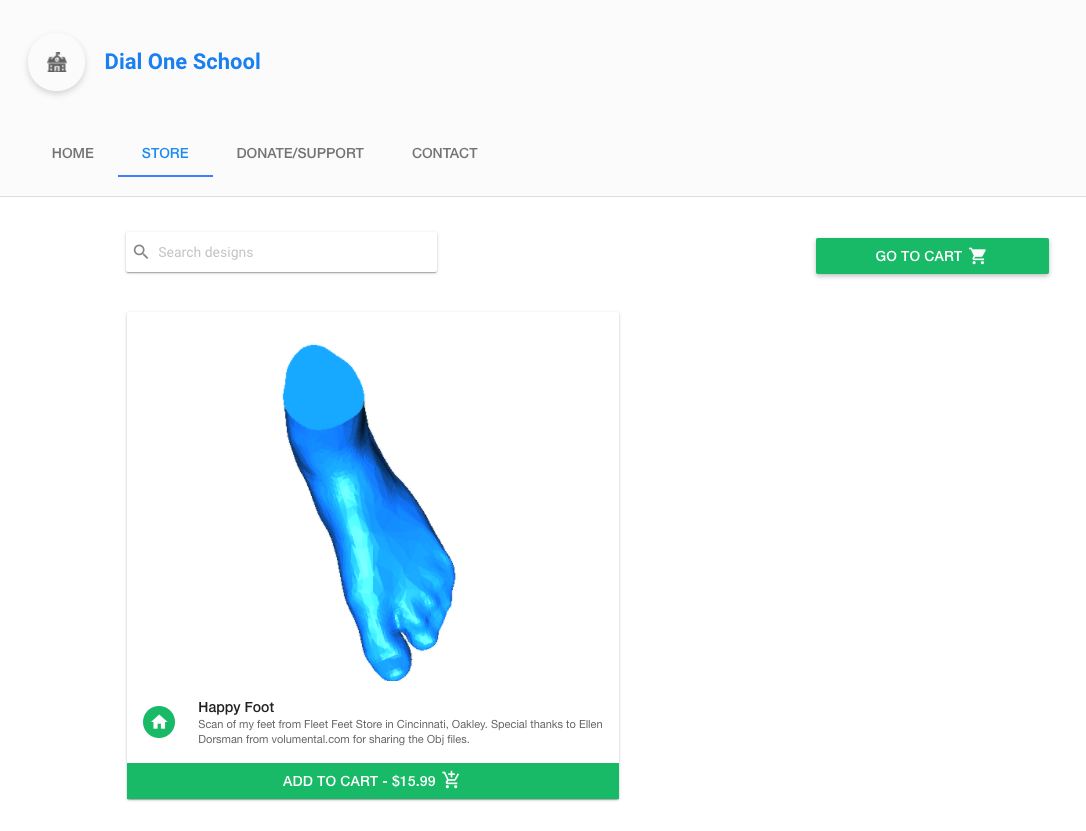
List Items for Sale
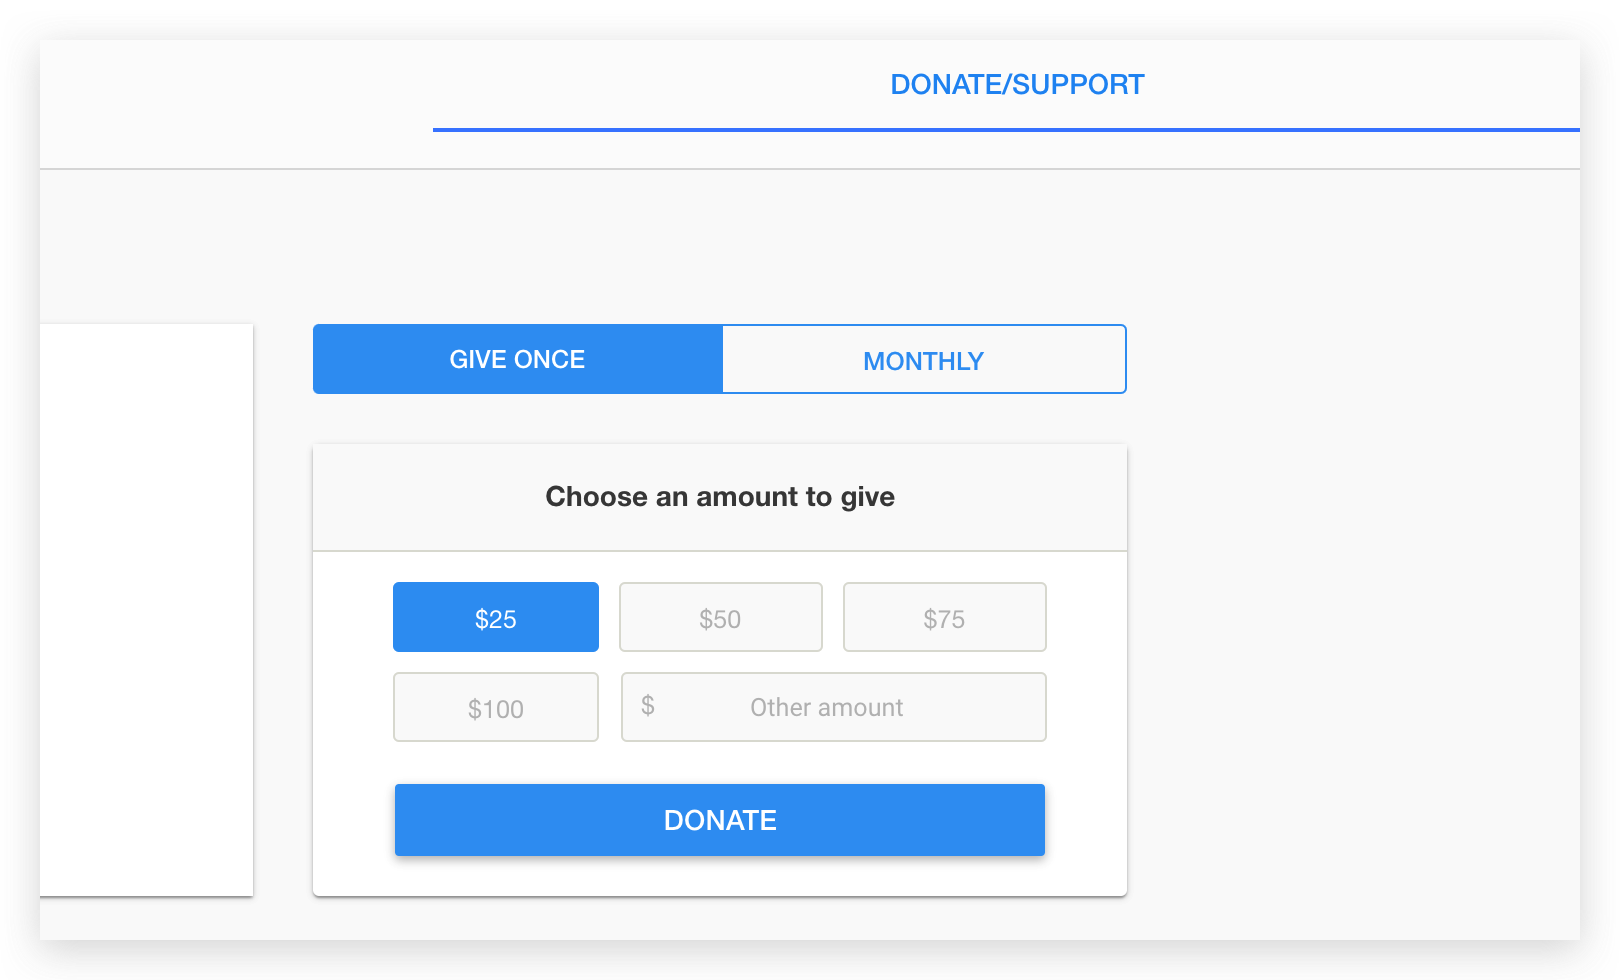
Accept Recurring or One-time Donations
Getting to know your School Store
Introduction
Hang your shingle with a School Store™ from the Polar Cloud. Your store is a great tool to teach students important lessons about entrepreneurship that can’t be learned from a textbook. Your store also serves as a marketing tool to show off student ingenuity and design work.
This is a feature we’ve been excited to offer for a long time. Local businesses have been sponsoring school sports teams forever - it’s time we offered those same opportunities to STEM students. Allowing them to share what they’ve come up with, and the school to benefit from their students.
Schools can now run a “Make Sale”, much like a modern day “bake sale” but instead of selling baked goods.. the school is selling digital designs and 3D printed parts. The school keeps 100% of the proceeds and can use them however they see fit.
Prerequisites:
Your school is set up on the Polar Cloud and has an active site license
Students that want to list objects for sale have joined the school
Video Instructions
Step 1 Get Started
Just by being on the Polar Cloud, your school is ready to showcase student designs and make money, no additional setup required.
To allow for review, items submitted to the school store have to be approved before they show up in the store. Teachers and School Admins can make edits to price and description at any time by choosing to edit the pending or existing item.
Step 2 Populate Your Store
Your store will start with a few “stock” objects to get you up and running, but adding your own objects is fun and easy. Follow the steps below.
1. Start with an object. Find one you’ve already added to the cloud or upload a new one (EXPLORE > OBJECTS > UPLOAD)
2. Make the object public by completing the fields in green and clicking “SAVE & PUBLISH” at the bottom
3. Go to your School Dashboard and find the “STORE” Tab
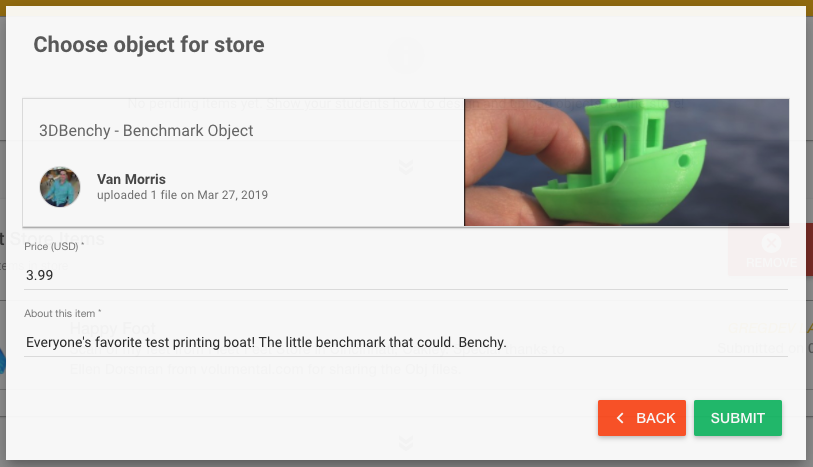
4. Under “Current Store Items“, click the green “ADD” button and choose an object. Click Submit. Use the search bar to help you find your object.
5. Set a price for your object and add a description. These are the two fields shown to your customers.
6. Once you click submit, your item is “Pending” until a Teacher or Admin from your school approves it.
7. Once approved, the item is ready to be sold! Share it with your family and friends by pointing them to your school on the Polar Cloud and telling them to search for your name!
WITHDRAW YOUR PROCEEDS!
Schools that have a Premium Site License are able to connect their account with Stripe and withdraw the funds they raise. Follow the steps below to get started!
FAQ: QUESTIONS AND ANSWERS ABOUT YOUR STORE
Where does the money go?
By default, The Polar Cloud acts as custodian of any funds generated on the site, albeit thru Tips, Sales, or Donations to the School.
How much does the Polar Cloud take from each sale?
Your school store receives 100% of the proceeds, minus credit card processing fees.
How do I know my transaction is secure?
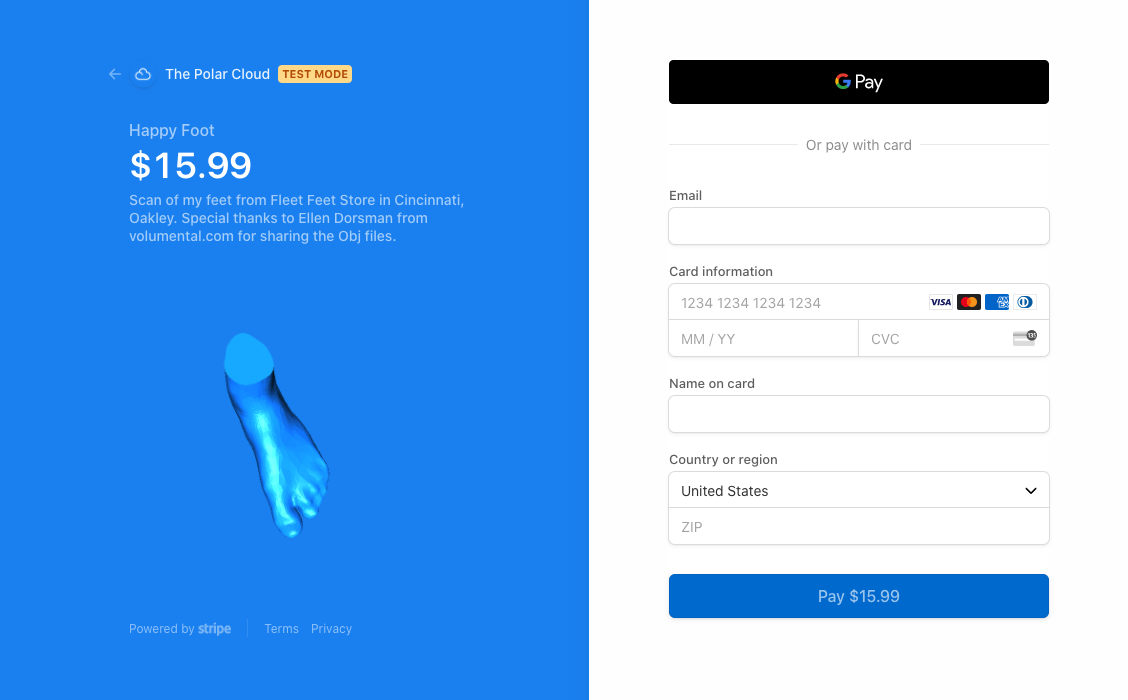
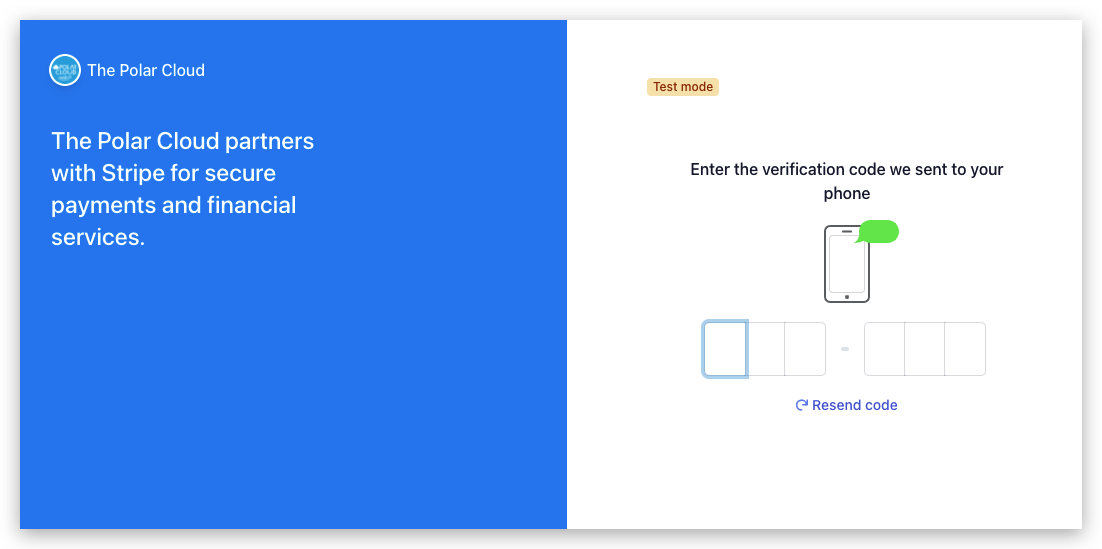
Stripe exceeds even the most stringent security standards. Learn more here.
What are these objects in my store? I don’t recall adding them..
The Polar Cloud starts all school stores with featured objects so that you can get right to earning! Don’t worry, even though they’re our objects, the money is yours.
How do I know if we have a School Store?
All schools on the Polar Cloud have a school store. If you’re visiting for the first time, you may notice your school store has a few items in it by default. These community items are chosen by Polar Cloud Admins and may change from time to time.
Premium means you and your students can add more items to your school store, and all raised funds are 100% accessible to you to be withdrawn at any time. For more information on getting a Premium Account for your school, click here.
How do donations work?
All money given to your school in the form of Tips on Objects, Object Sales (the sale of an Object that is made for purchase), and one-time or Monthly donations all go to your school.
Tips on Student’s Public Objects
Sales of any Objects listed for sale
One-Time Donations
Recurring Monthly Donations
Help! Someone bought my item. What now?
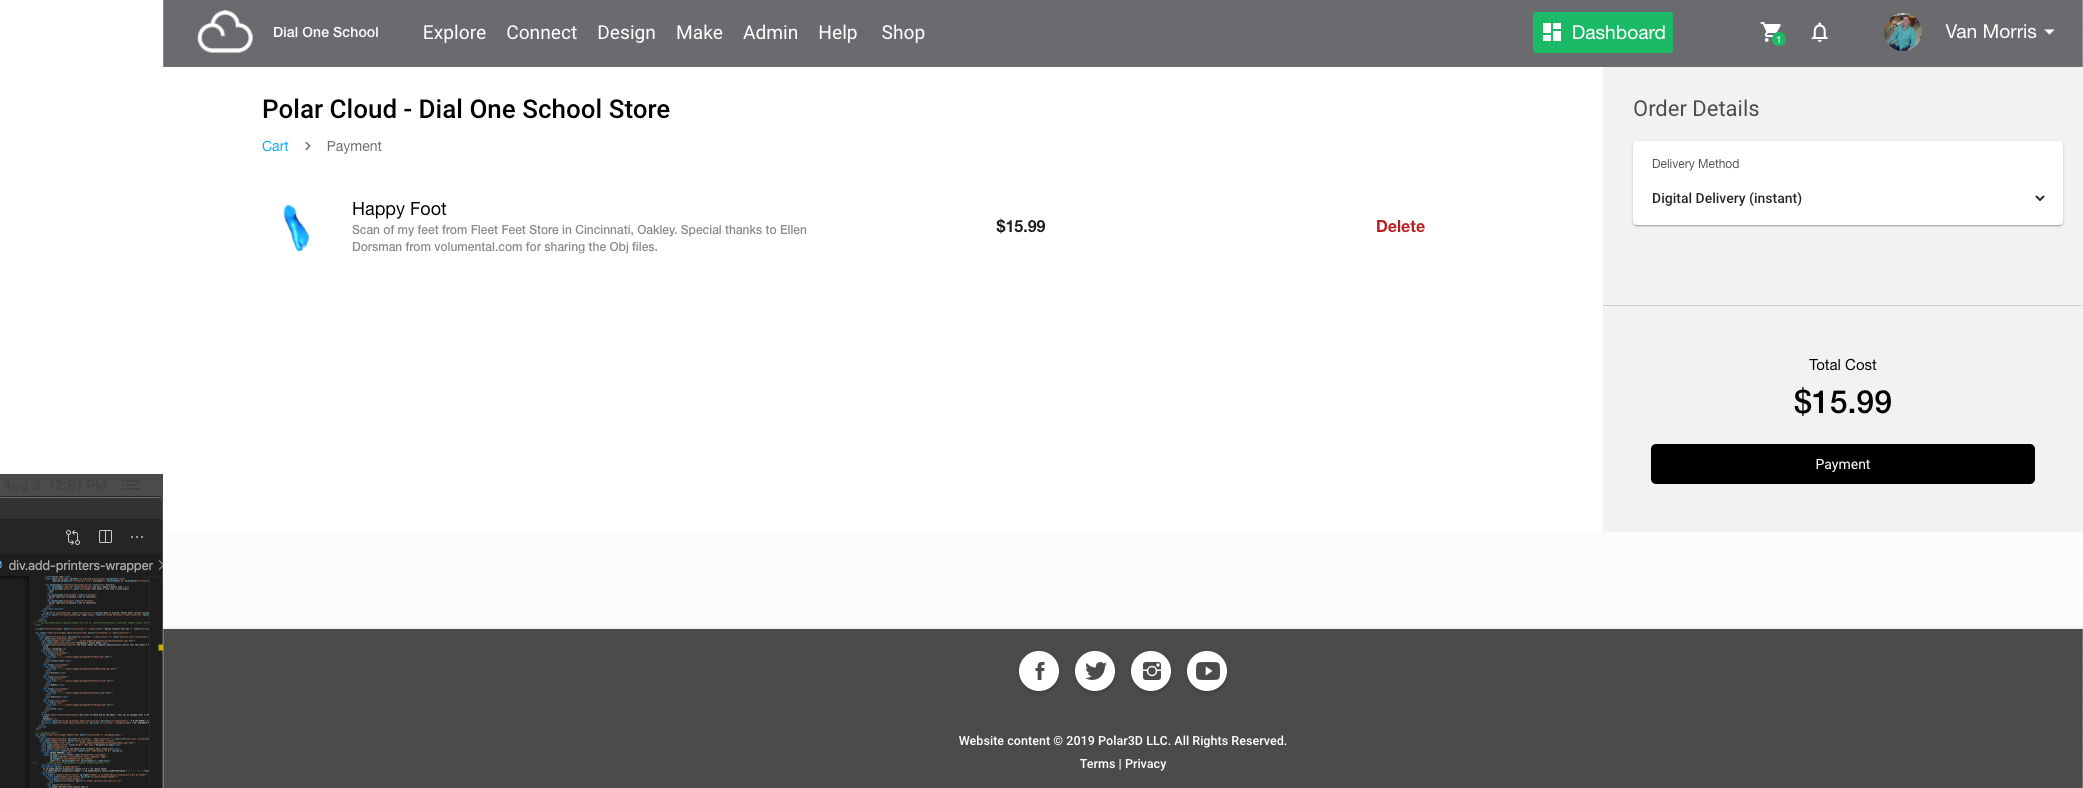
Don’t worry - purchasing an item from a School Store is merely buying the Digital Object. Before purchasing, no user can download or print your object. After purchasing, they can print it as much as they like! Think of selling your item as someone else giving you “kudos” for your work.
What type of items are selling? And for how much?
We find a starting purchase price of $4.99 seems to work well, although many patrons are parents and friends and are happy to pay higher than that. The more creative a design is, the better!
What can be purchased with the funds we raise?
Anything! The Stripe Dashboard makes it easy to turn funds raised into a renewal of your Premium Account, but you’re free to do whatever you like with it. Imagine raising enough money to buy that upgraded 3D printer you’ve been waiting for!
How do I get our funds out of the school?
You must be Admin of the School to launch the Stripe Dashboard by taking the following steps.
If you’re in multiple schools, click the “eye” next to the correct one in your account dropdown
Click the “Dashboard” Button in the top toolbar
Click “Donate/Support”
Click “Pay Out Now”
Once you complete the Stripe onboarding process, final withdrawal steps are in Stripe.


